The Hotel Bathroom Mockup: A 50-Point Preconstruction Checklist for Architects, Developers, Housekeeping & Engineering
A hotel bathroom mockup should do more than confirm that the tile, faucet and vanity look good together. It is the last low-cost opportunity to test the entire guest experience before the same details are repeated across dozens or hundreds of rooms. This BathSelect Hospitality™ checklist turns the mockup into a multidisciplinary preconstruction review covering architecture, plumbing, accessibility, shower performance, lighting, housekeeping, maintenance, finish durability and commissioning.
Why the Bathroom Mockup Has Outsized Value
A drawing can confirm dimensions. A rendering can communicate atmosphere. A specification can define products. None of them fully reproduces the experience of standing at the vanity, opening the shower door, reaching the controls, placing a toiletry bag, cleaning behind a faucet or trying to service a concealed valve.
The mockup exposes coordination problems while they are still singular. Once a problem has been repeated through a hotel room stack, a small detail becomes a portfolio-scale correction. The purpose of the mockup is therefore not perfection for one room; it is risk reduction for every room that follows.
Zone 1 — Arrival, Door & Overall Guest Experience
Confirm the door does not conflict with vanity, toilet, shower hardware, hooks or guest circulation.
Stand at the guestroom entry and bathroom threshold. Verify the intended focal point and conceal undesirable plumbing/service views.
Test the room at night-level illumination. Guests should find the bathroom and primary controls without excessive glare.
Walk the actual route between entry, vanity, toilet, shower and tub with doors in realistic positions.
Review sightlines, glazing, door gaps and reflections from mirrors or glass partitions.
Zone 2 — Vanity, Sink & Faucet
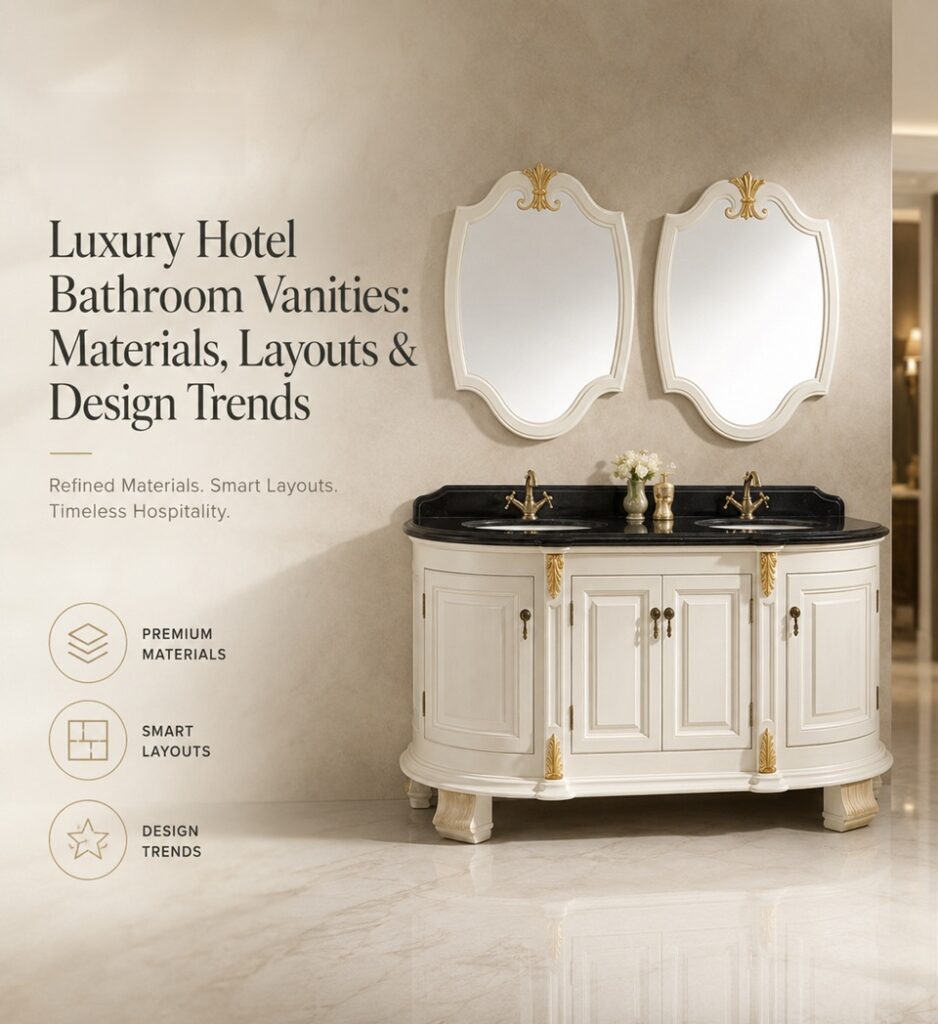
Run water and confirm the stream lands appropriately in the basin without excessive splash.
Place a realistic toiletry bag, phone and grooming items on the vanity; confirm useful landing area remains.
Test the mirror with users of different heights and verify the faucet or backsplash does not create awkward visual conflicts.
Evaluate facial illumination, glare and shadows rather than judging decorative appearance alone.
Review visible plumbing, access, cabinetry cutouts and housekeeping reach below the basin.
Open every drawer and door. Confirm they clear plumbing, towels, adjacent walls and the guest standing zone.
Test electrical receptacles with typical grooming devices and verify cords do not cross wet or awkward zones.
Can staff wipe behind the faucet, around the basin and along backsplash joints without unusual effort?
Zone 3 — Shower Hydraulics & Guest Controls
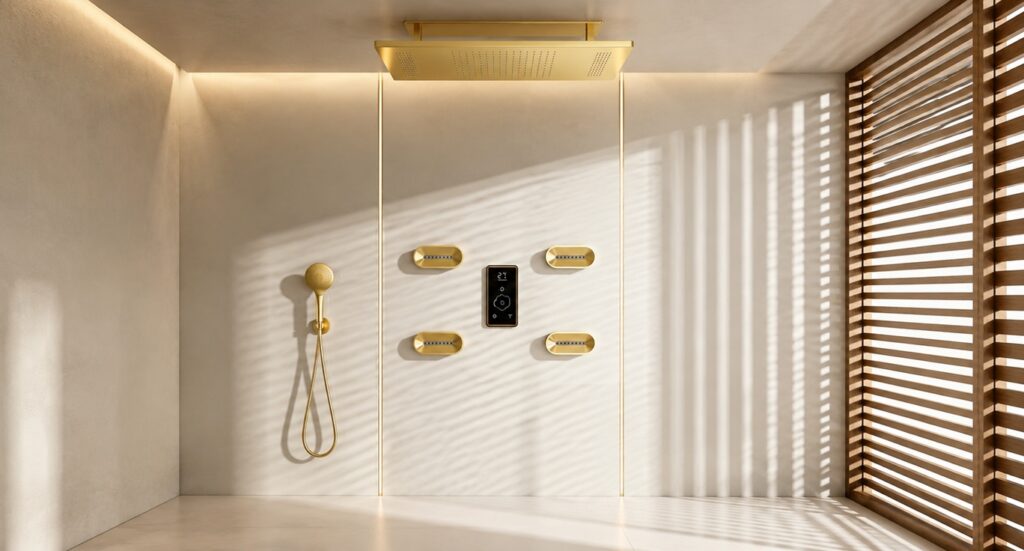
Ask a person unfamiliar with the system to start the shower and select outlets without instruction.
Test adjustment speed, stability and the specified maximum-temperature limiting setup.
Stand under the actual head and confirm mounting height, spray footprint and guest position.
Test hose length, holder location, slide rail and usability for standing and seated scenarios.
Confirm spray heights and angles correspond to real human body zones rather than elevation symmetry.
Operate every intended outlet combination and observe flow, pressure and thermal stability.
Where intended, verify a guest can start the shower without standing directly under cold water.
Check display readability, logic, power behavior and recovery after interruption where digital controls are used.
Zone 4 — Drainage, Enclosure & Wet-Zone Control
Operate the maximum intended shower combination and confirm water evacuates without ponding.
Observe actual water movement toward the drain, especially at curbless entries and corners.
Run the shower with enclosure doors in normal use and inspect seals, hinges and floor escape paths.
Confirm body sprays and hand showers do not routinely wet towels, controls or dry-zone flooring.
Test door weight, handles, stops and clearances; inspect all penetrations and support points.
Review trip risk, accessibility and water containment together rather than independently.
Zone 5 — Accessibility & Inclusive Guest Use
Accessible guestrooms require project-specific code review. Under the ADA Standards, transient lodging facilities must provide mobility-feature guestrooms according to the Section 224 scoping table, and a specified portion of accessible rooms must include roll-in showers. The U.S. Access Board’s bathing-room guidance also addresses turning space, controls, seats, hand showers, grab bars and clearances.
Measure the built mockup—not only the drawing—and verify furniture, doors and accessories do not encroach.
Verify required seat type, location, mounting and relationship to controls in applicable rooms.
Check height, length, wall reinforcement, clear gripping space and conflicts with accessories.
Physically test reach from the intended seated or mobility position.
Verify hose length, fixed-position capability and accessible location where required.
Confirm accessible rooms retain the same material and visual standard as the hotel’s other premium guestrooms.
Zone 6 — Bathtub, Tub Filler & Suite Conditions
Physically test rim height, approach space and nearby wet-floor conditions.
Confirm the water stream clears the rim properly and controls are usable from the intended position.
Fill and drain the tub during commissioning; inspect all accessible connections.
Identify how valves, pumps or powered components will be reached after finishes are complete.
Zone 7 — Materials, Finishes & Housekeeping
Compare faucet, shower trim, drain, accessories, hardware and lighting under final lamp color temperature.
Confirm proposed cleaners are compatible with fixture finishes, stone, grout, glass and sealants.
Allow surfaces to dry naturally after use and inspect visible spotting on glass and metal.
Identify unnecessary ledges, seams or tight gaps that add housekeeping time.
Review sealing, edge details, wet-area transitions and realistic cleaning access.
Zone 8 — Engineering, Maintenance & Closeout
Locate and label accessible shutoffs needed to service the room without unnecessary building disruption.
Demonstrate how cartridges, mixing valves and diverters are removed after final finishes are installed.
For smart or touchless fixtures, locate power supplies, sensors, solenoids and control modules.
Run every fixture and inspect visible and accessible concealed connections before approval.
Confirm showerheads, aerators and spray outlets can be inspected and cleaned as required.
Identify cartridges, aerators, hoses, sensors and other high-value spares before hotel opening.
Capture model numbers, finish names, instructions, warranty records and approved substitutions.
Create a final visual record of fixture locations, finish interfaces and service conditions for construction QA.
Who Should Sign Off?
| Stakeholder | Primary mockup responsibility | Typical issues caught |
|---|---|---|
| Architect | Geometry, code, detailing and coordination | Clearances, penetrations, door conflicts |
| Interior designer | Guest experience, materials and lighting | Finish mismatch, poor ergonomics, glare |
| Plumbing engineer | Hydraulics, valves, drainage | Flow, pressure, temperature, drain capacity |
| Accessibility consultant | Mobility and usability requirements | Reach, seats, grab bars, clearances |
| Housekeeping | Cleaning practicality | Tight gaps, spotting, difficult surfaces |
| Engineering/facilities | Serviceability and maintenance | Hidden valves, poor access, missing shutoffs |
| Owner/developer | Brand standard and lifecycle value | Guest-experience and repetitive-cost risk |
| General contractor | Constructability and repeatability | Tolerances, sequencing, trade coordination |
BathSelect Hospitality™ Project Resources
Central resource for showers, faucets, vanities, bathtubs, smart-bath and hospitality fixture planning.
Sensor-faucet planning for hotel and premium public washroom applications.
Hospitality basin geometry and faucet coordination for vanity mockups.
Suite and resort bathing systems with structural, plumbing and lifecycle considerations.
Independent Professional References
Hotel Bathroom Mockup FAQ
When should the hotel bathroom mockup be completed?
Early enough that corrections can be incorporated before repetitive guestroom rough-in and finish installation. The exact timing depends on the project schedule, procurement and construction sequencing.
Should the mockup use the actual specified fixtures?
Whenever feasible, yes. Substitute dimensions or visual stand-ins cannot reveal actual faucet splash, shower operation, finish interaction, control logic or service access.
Why should housekeeping participate?
Housekeeping can identify recurring labor problems such as tight cleaning gaps, water spotting, awkward ledges and incompatible surface-care requirements before those details are multiplied across the property.
Why should engineering staff participate?
They can verify shutoffs, valve access, electronic components, drain service, spare parts and realistic repair procedures before the bathroom is enclosed.
Does one standard mockup cover accessible guestrooms?
Not necessarily. Accessible room types have different scoping, clearances and bathing configurations. Applicable accessible room conditions should be separately verified against the project’s requirements.
Should the shower actually be operated during review?
Yes. Flow, pressure, spray containment, temperature behavior, outlet combinations and drainage are functional conditions that cannot be reliably approved from a dry mockup.
What should happen after approval?
Document the accepted condition with marked drawings, photographs, finish records, fixture model numbers and written closure of outstanding items so the mockup becomes a repeatable construction standard.
What is the most important mockup question?
Ask whether the approved room can be repeated hundreds of times without creating a recurring guest, housekeeping, maintenance or construction problem.
Conclusion: The Mockup Is Where Hospitality Design Becomes Measurable
A successful hotel bathroom mockup converts design intent into evidence. The team can see whether the vanity is usable, feel whether the shower performs, measure whether accessible clearances work, observe whether water escapes the enclosure, test whether finishes clean realistically and demonstrate whether concealed components can be serviced.
The most valuable result is not a perfect prototype. It is a verified standard that can be repeated confidently across the property.
BathSelect Hospitality™ supports this project approach through hospitality-focused shower, faucet, sink, bathtub, touchless and coordinated bathroom fixture resources designed for professional specification and project planning.
Professional note: This checklist is an educational preconstruction resource, not a substitute for adopted codes, project specifications, accessibility review, manufacturer instructions or professional engineering. Verify all requirements for the specific jurisdiction and project before construction approval.